


In the previous post, we started creating GitHub Contributions App for Andrdoid. We saw how we can access HTTP REST Service using HttpClient, how we can update permissions specially to access network resources, plus the details about performing actions on background thread while showing the result on UI thread. We also saw how we can define string resources and use them in our code and layout definition.
In this post we are continuing with the app. We will be updating the action bar from default to custom. Currently, you can only see author’s GitHub contributions. We will be providing a setting to change GitHub user. The feature will be provided by adding an action bar button for settings.

Creating Icon
We can use Android Asset studio to create icons from clipart. You can find it here:
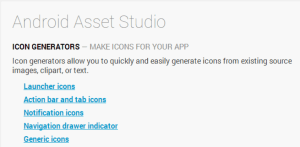
Here we need an icon for settings. Let us use this clipart to create icons:

It allows creating icons for different resolutions. We can download the icons as a single zip file and copy them in the respective folders in our project. We can then reference these icons as drawable resources.
![]()
Action Bar Button for Settings
Let us first add a resource directory to hold the definition of action bar. Now we can add a menu resource to the directory.

We update the contents of the menu resource to include settings menu item. Here we are using the icon we created above. There are three possible options for a menu item to display in action bar. They are as follows:
- never
- always
- ifRoom
Since we just have one menu item, we are always showing it.
Now we need to hook up this menu to the activity’s action bar. We add a menu resource to activity’s menu in onCreateOptionsMenu method. In order to associate activity’s action bar with menu from the resource file, we use MenuInflater obtained using getMenuInflater for the activity.
When an item is selected from the menu, the framework calls onOptionsItemSelected method with the menu item selected. Since we only have one menu, we have a simplified implementation of this method. Here we are just calling openSettings method. We will be providing the definition of this method later in this post.
Defining Preferences
Now we need to allow user to enter userName of the github contributor we are interested to see the profile of. Android provides a whole API around preferences. These preferences can be local to the application or they can be shared with other apps. We can also provide a read-only or read/write access to other apps.

Since we just need a single preference to store the user name, we just need and EditTextPreference, this would show a TextView to show and update the value of the preference. Here we can provide a default value, title and summary information for the preference. The key can be used to later get the value of the preference. It must be remembered that Android preferences are stored as key / value pairs. Let’s update the contents of the xml with the following:
Create Settings Activity
We need to create an activity to display preferences. We use PreferenceActivity for this purpose.

In order to keep things simple we let’s update the contents of the file containing the activity definition. Here we are using addPreferenceFromResource method from PreferenceActivity. The method is deprecated. In some next post, we will try to update this with the newer recommended approach. We can pass the preference, we created above, to the method.
The preference API revolves around SharedPreference. It provides storing and retrieving data in the form of key/value pairs.
Adding Settings Activity to GitHub Card
Now the stage is all set. We can add the Settings activity to GitHub card. In the openSettings() method we can start this like any other activity i.e. we can create an Intent for the activity, then we can start it using one of the methods provide by Activity. Since we need to load the view again with the updated user name, we are using the overload startActivityForResult. This would make sure that the framework calls onActivityResult method when the activity returns.
Here we have moved the part where it loads the user profile and repository data to loadUserDetails() method. The method is being called from onActivityResult() method. We have also updated activity’s onCreate() to use the same.
You might remember the preference definition where we used pref_loginName to store user name. Here we are using the same to retrieve the value. If there has never been a value saved for the key, it should return the default value “msiddiqi” which is the github profile name for the author of this post. PreferenceManager is used to get the SharedPreference for the activity.
After retrieving the user name, we can use the same AsyncTask (s) to load user profile and repository details.
Running the App
Before running the App, let me tell you that we can capture the virtual / real device under debug using DDMS.

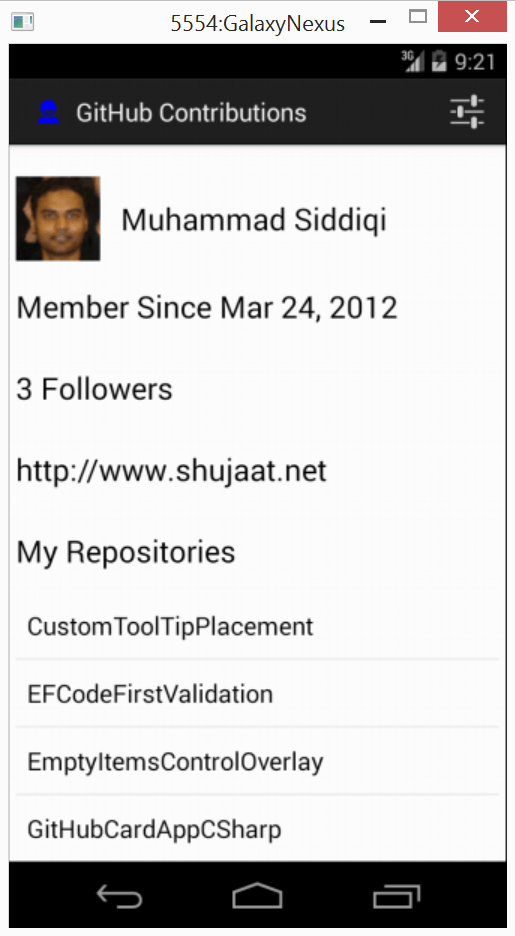
As we run the application, we don’t have any value for the specified key in the preference, so it should return the default value “msiddiqi”. In the onCreate method, it should use the default value to load user’s GitHub profile details.
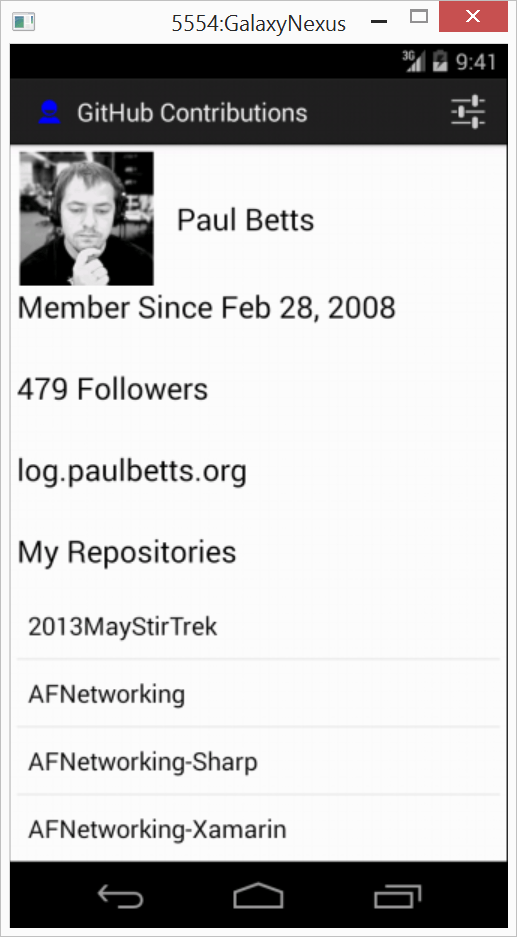
Now open preference activity by clicking the Settings button in the action bar. It should open the view for SettingsActivity. As the activity is defined it using preferences defined in preferences.xml. This just includes EditTextPreference for user name. Selecting the preference opens the last saved or default value for the preference. Let’s update the user to paulcbetts. Paul is the main contributor to Reactive UI framework.

After updating the user as we head back to the main activity, it should load the profile and repository details for paul. The view is updated as follows:
This should be the same view if we exit the application and launch it again.
Download Code from GitHub

You must log in to post a comment.